

I used to be one of those people who walked into department stores on November 1st fuming that they had started decorating for Christmas. How dare they! Don’t they know that we still have a holiday between Halloween and Christmas to celebrate?
That was pre-kids. Today, I’ve had my Christmas tree up and have been blasting the She & Him Christmas albums non-stop for a week, and it isn’t Thanksgiving until later this week. I AM this comic from Lucy Knisley:
So, this weekend I really kicked off my holiday madness by hosting a cookie decorating party for four girls ranging from 2-years-old to 5-years old. I’m not going to lie. I was really scared that it was going to be a total dud. I imagined lots of tears, a huge mess, and a knowing look from my *loving* husband.
But I’m happy to report that it was a success. Each of the girls seemed to enjoy decorating cookies (to varying degrees) and they all got some tasty, beautifully decorated cookies to enjoy at home.

A lot of the work for a party like this starts in the day or two prior to the event. On Friday night, I made a double batch of the Basic Cookie Dough from Good Housekeeping Christmas Cookies: 75 Irresistible Holiday Treats (the best sugar cookies recipe I’ve ever used) and tripled this simple sugar cookie frosting from Cooking with Karli. I split the frosting into two bowls and colored them green and red. I’m a bit extra, so I almost made four colors for each girl, but I (thankfully!) stopped myself.
I love baking, so I made my own, but this could easily be done with store bought dough and frosting, too. The decorating party is so easy to prep for, so eliminating the baking would reduce the prep time significantly.
I filled five frosting bags (I was expecting five kids, but one was ill.) with red and five with green frosting and I put them in the fridge. I chilled the dough overnight, and rolled, cut, and baked the cookies on Saturday afternoon (with a little help from my baking elf.)
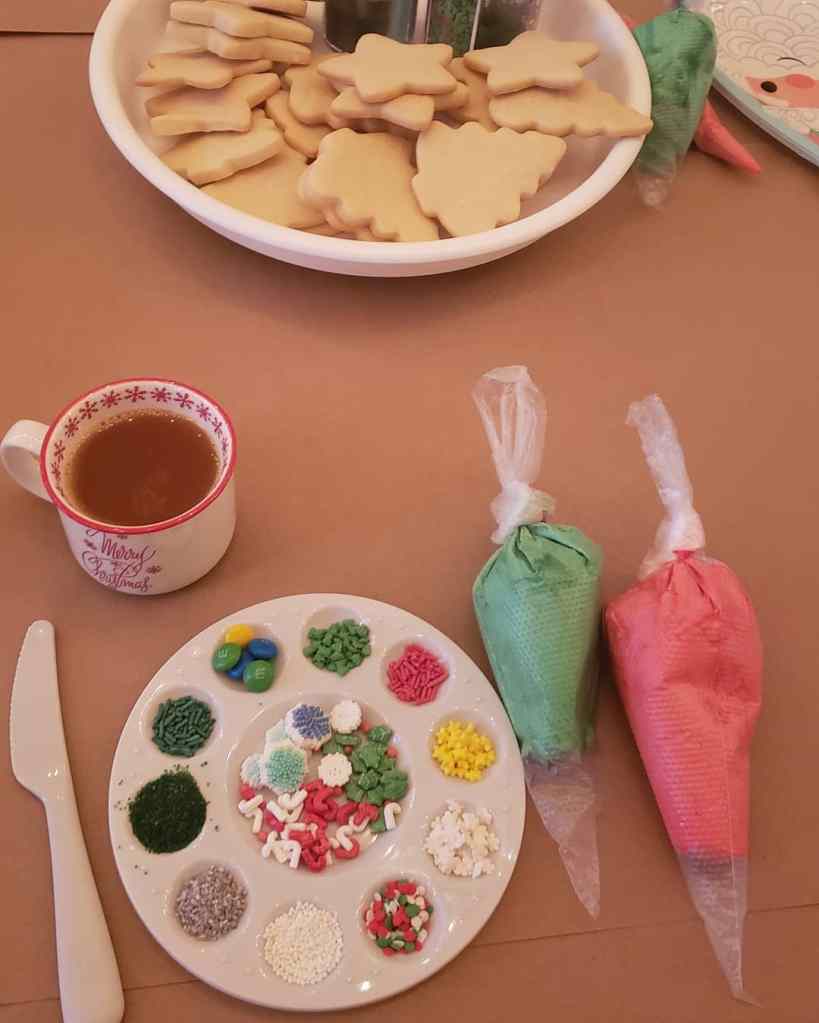
The day of the party, I pulled out my assortment of sprinkles and decorations (the M&Ms were a hit — I would include more next time!) and filled a clean painters palette (we use these all the time) with a variety of sprinkles for each kid. I covered my dining room table in craft paper and set out 2 bags of frosting for each kid (make sure you do this early enough for the frosting to get to room temperature). In the middle of the table I put cookies and extra sprinkles in two lazy susans (mine are from Container Store and I love them for crafting projects with kids.) I also gave each kid a child safe butter knife, a mug of warm cider, and a fun Santa disposable plate.

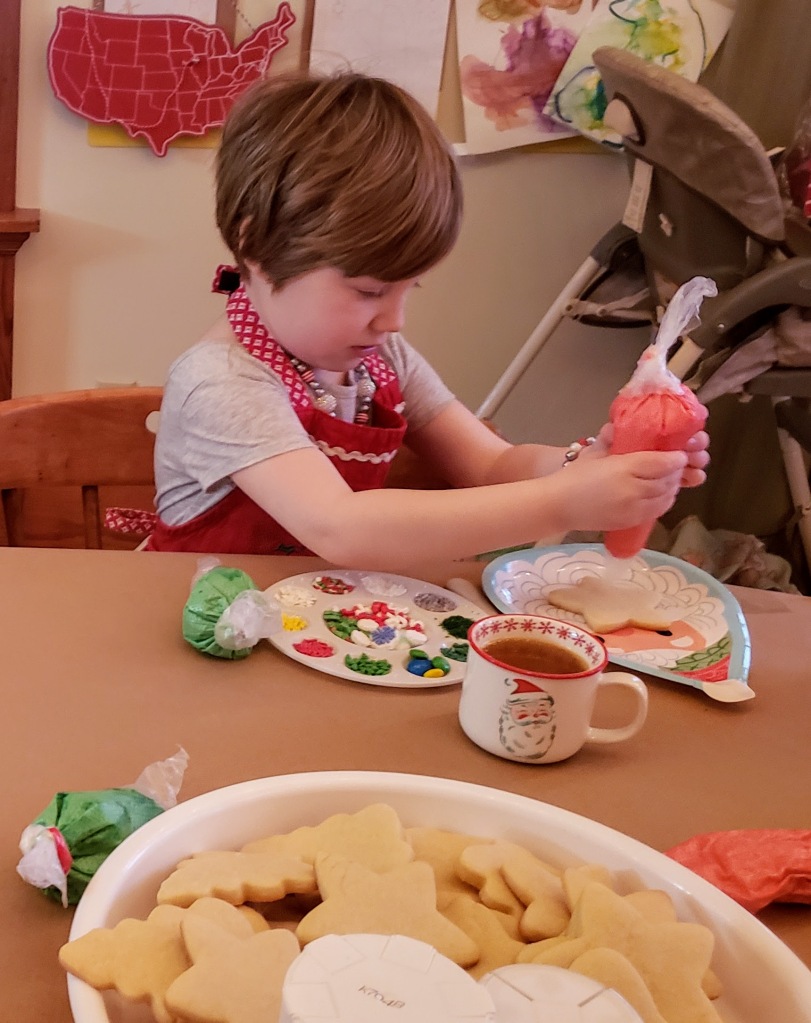
They caught on how to use the frosting bags really quickly (the two younger girls needed a bit more help with that part) and they went to work right away. I just thought it was a fun activity, but watching my 2-year-old add sprinkles (two for her mouth, 1 for the cookie), I realized that this was a great fine motor skill activity.
Clean-up was a breeze with the craft paper on the table. I simply put everything that needed to be saved/cleaned into the now empty lazy susans, and the rest got wrapped up in the paper as I pulled it off the table. We did have to do some extensive vacuuming afterward, but that is just every day in our lives.
I highly recommend throwing your own cookie decorating party — whether it is for just you and your kids or for a group.

Supply list:
Kraft Paper (link)
Cookie Cutters
Pre-made Sugar Cookies (link)
Pre-made frosting (link)
Sprinkles
M&Ms
Icing Decorations (link)
Lazy susans or large plates (link)
Plates (link)
Palettes (link)
Frosting bags (link)
Aprons
Butter knives
Boxes for take-home cookies (link)
